
Geraldine
I love watching Behind the Scenes (BTS) videos, especially in the making of a photo or video, what goes on making the shot and how the photographer/cinematographer thinks. This is also a way of learning new ideas from others.
In this Fstoppers Youtube Video, they teach you how to light a beer bottle for product photography.
I’ve broken down the 5-light set-up and what it looks like before all the lights are triggered.
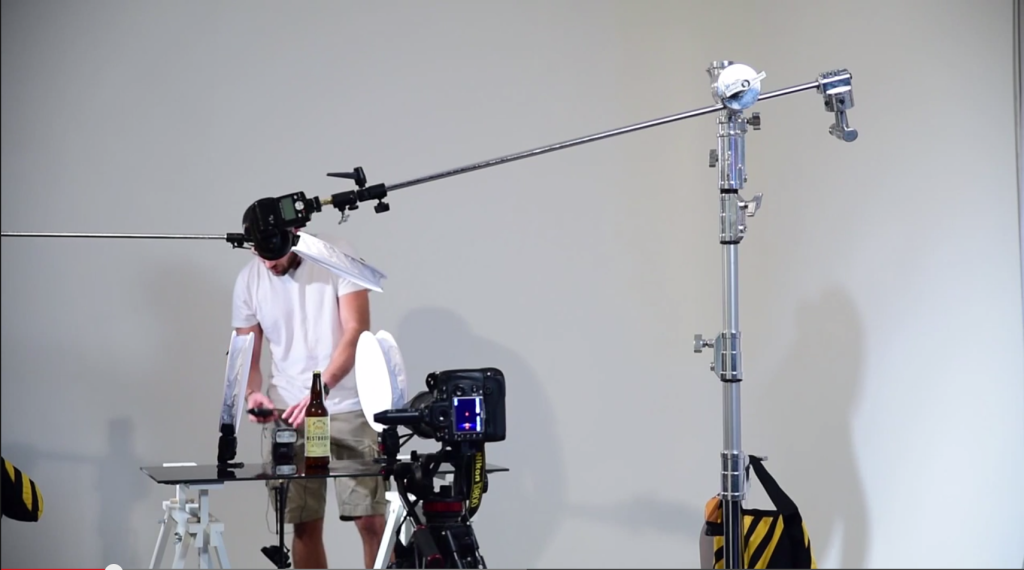
Product Photography Setup
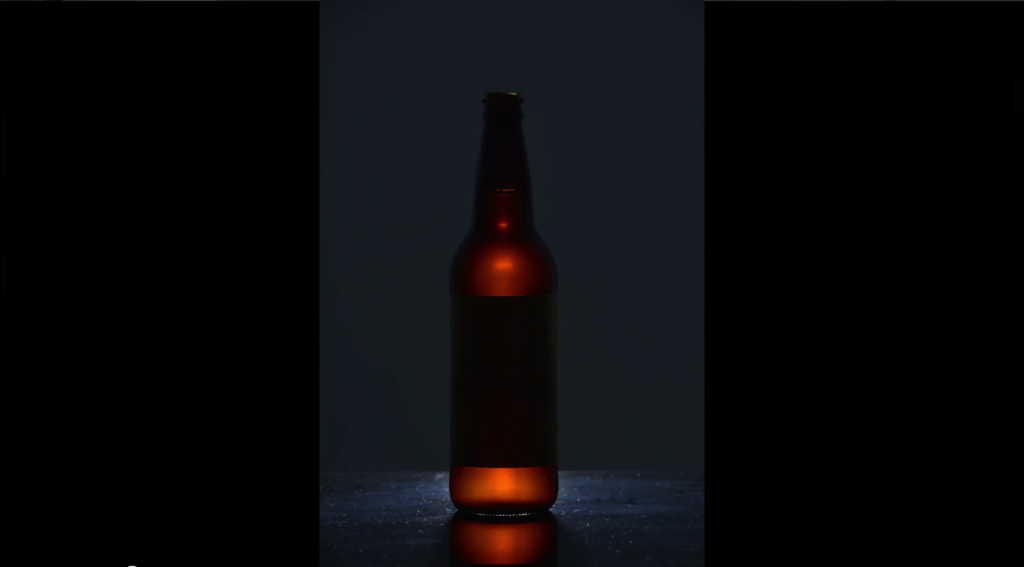
One light behind the bottle
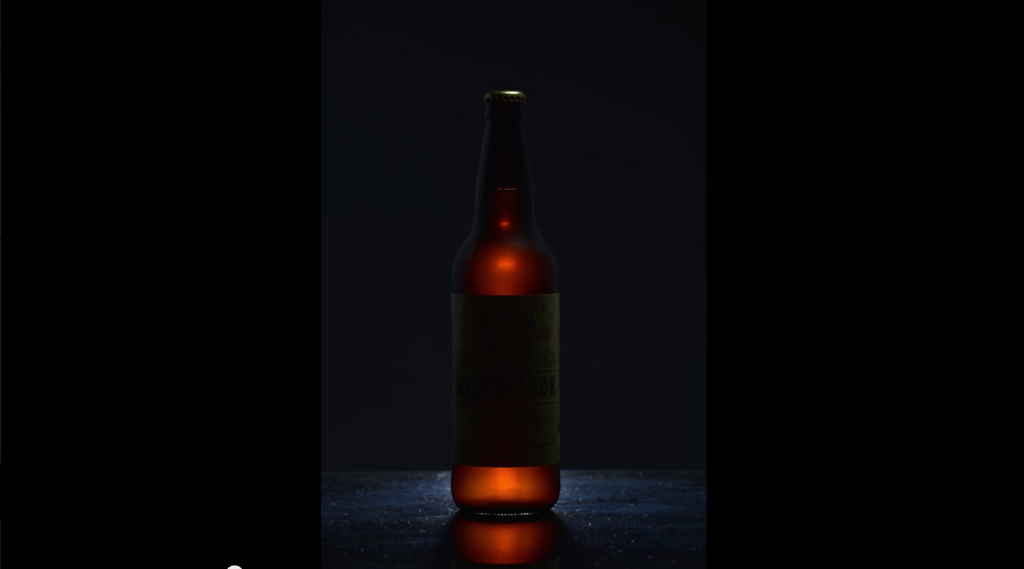
Second light top of bottle
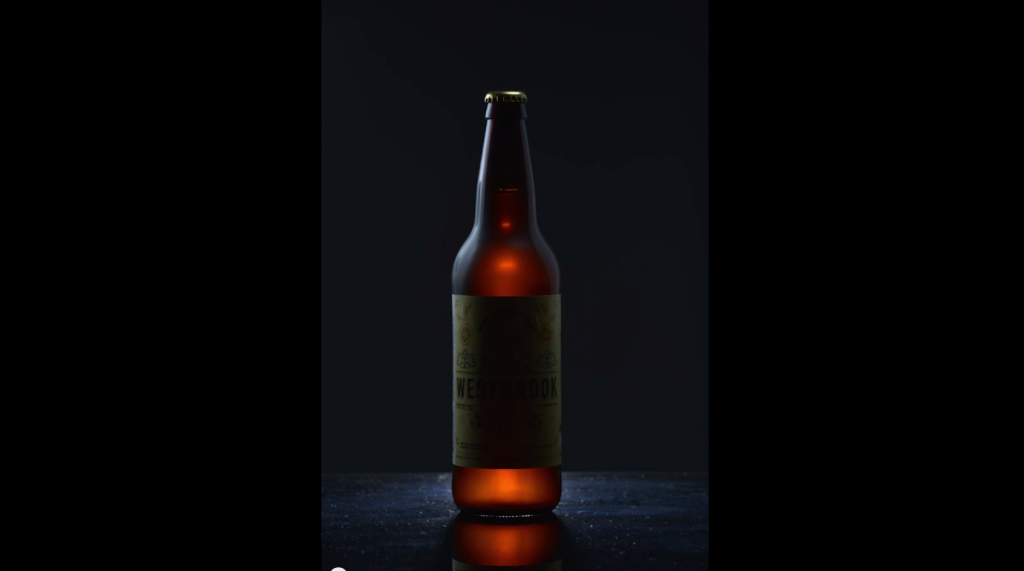
Third light left of bottle
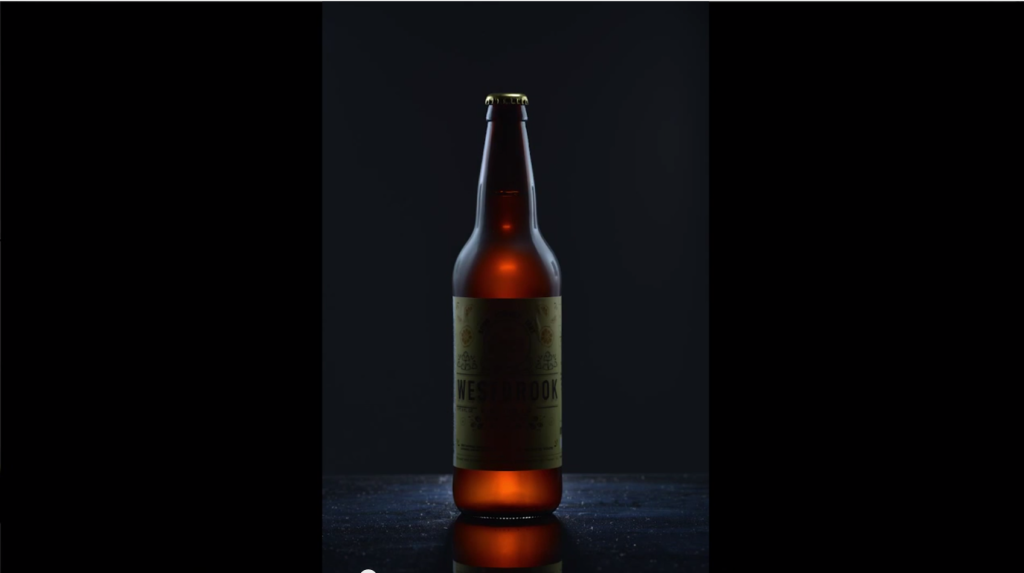
Fourth light right of bottle
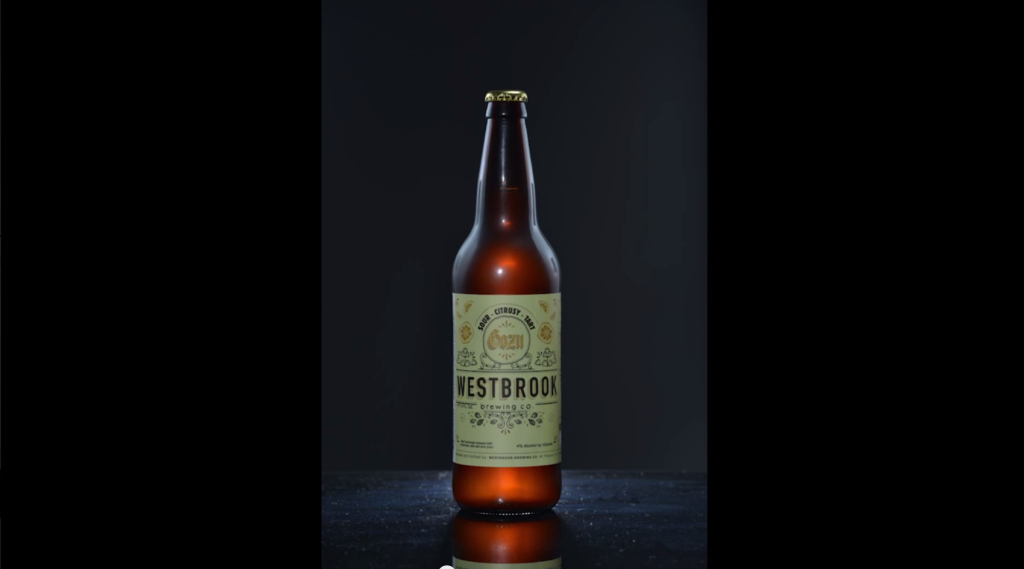
Fifth light fill flash, front of bottle
Not everyone will have 5 camera flashes in their camera bags, plus not everyone will be having all the stands and clamps in their gear bag. But this is a great way to learn more about light, plus flashes are getting cheaper these days, check out YongNuo prices on Lazada. As for the flash disc, here’s a DIY on how to make one (Google is your friend).
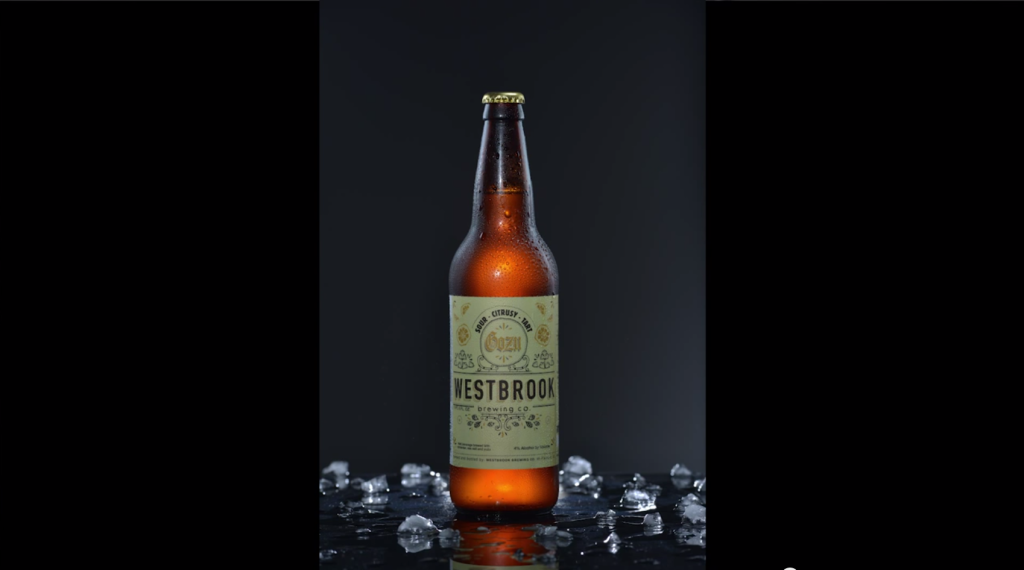
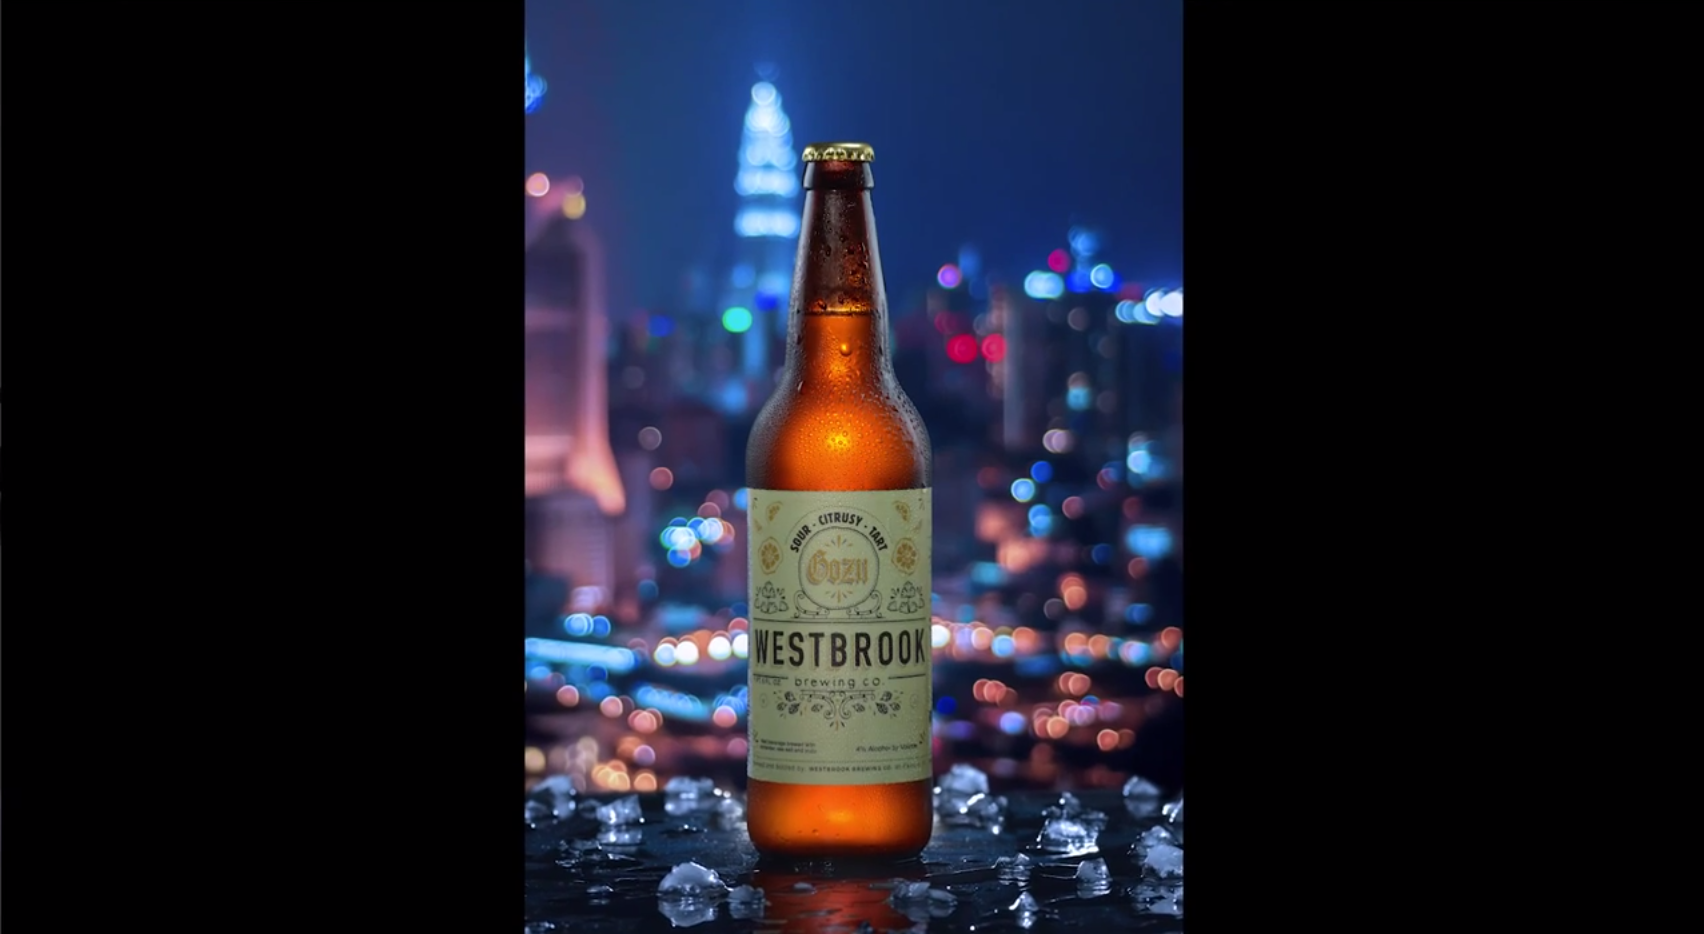
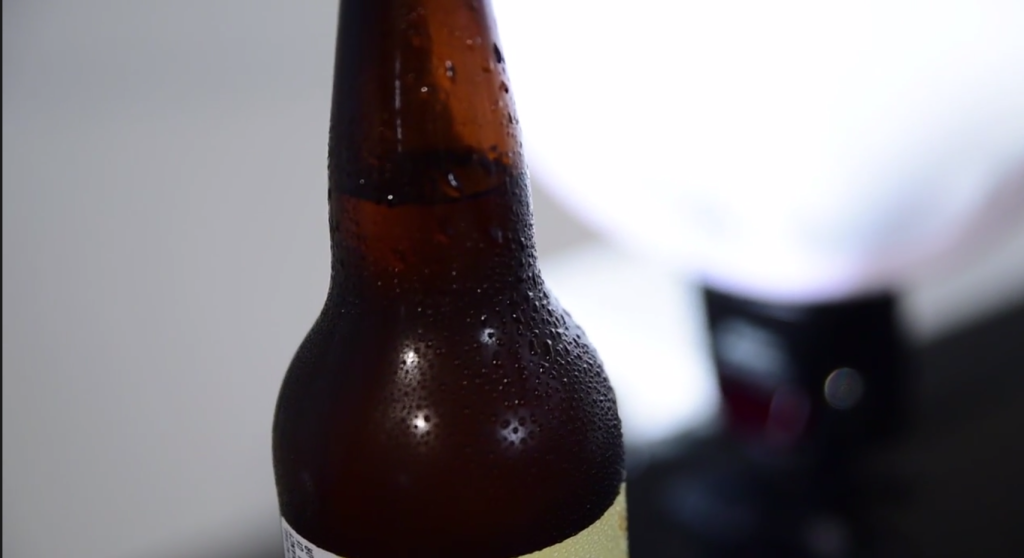
With crushed ice and “condensation” on bottle.
Two great takeaway tips I got from this video:
- Coat the paper label with clear gloss to avoid wrinkling the paper
- “Condensation” on the bottle is actually glycerin and water in a spritzer bottle. Glycerin makes the water droplets stay, and it stays there and won’t drip down the bottle. 🙂
While we’re on the topic of beer, here’s a video we produced with Katipunan Craft Ales, as they tell their story how they got into making beer. 🙂
Katipunan Craft Ales from Exposure Media Productions on Vimeo.